

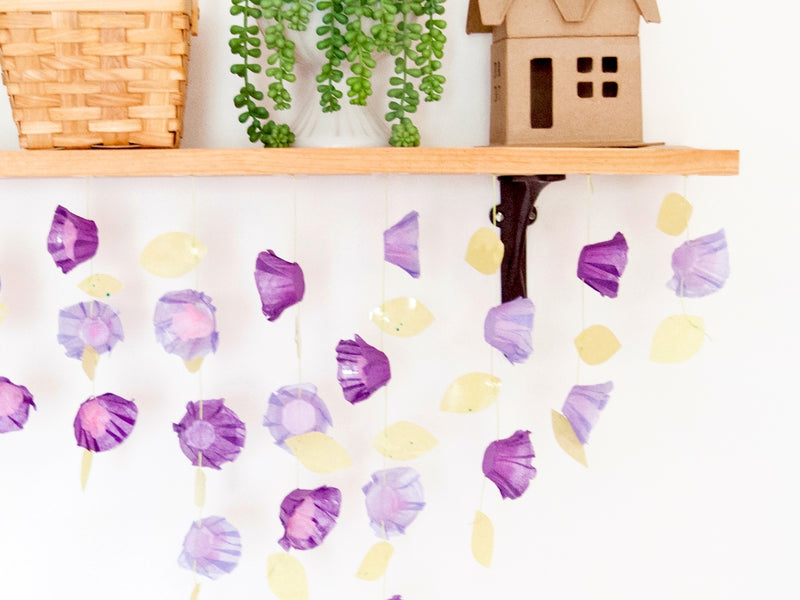
Show your flower power!
Whether spring has sprung or you just want to add a little touch of life and color to your bedroom or party, it's time to get crafty! This simple upcycling project is perfect for decorating your home. If you know us, you know that we LOVE recycling and repurposing materials into fun new things, and this is an amazing way to do just that!
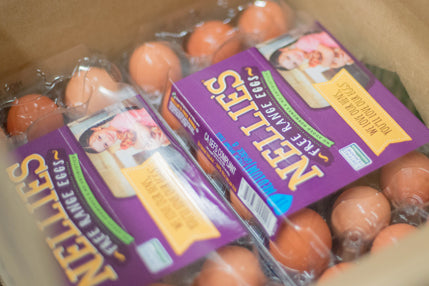
Nellie's cartons are made from 100% post-consumer recycled plastic and have a significantly lower carbon footprint than most paper pulp cartons. And by upcycling them into a beautiful garland, you're helping the environment and having fun all at once. Thanks to the strong plastic that protects Nellie's Free Range Eggs so well, this garland is sturdy enough to withstand anything—yes, even a birthday party for the kids. Three cheers to saving the planet one craft at a time!

Supplies
- Empty Nellie's Free Range carton
- Mod Podge
- Oversized needle
- Green thread/string
- Tissue paper (purple, pink, and green)
- Scissors
How to make the floral garland
-

Cut the empty egg carton into individual cups. -

Cut tissue paper into 3-inch squares. -

Apply Mod Podge onto the outside of each egg cup. Place a tissue paper square onto the bottom of the cup, pressing to adhere, and then press onto the sides as well, gathering the paper to fit and forming a crinkled flower. Repeat for as many flowers as desired, and set aside to dry completely. -

To make the leaves, cut out the flat top of the egg carton lid, recycling the off-cuts. -

Use Mod Podge to apply green tissue paper onto the lid and let dry. -

Once the tissue-covered lid is dry, cut lid into leaf shapes, each about 1-inch long. -

Once the tissue-covered egg cups are dry, use scissors to trim the excess tissue from the edges. -

Thread an oversized needle with green thread. Carefully pierce the egg cup as close to the base as possible, and pull the needle all the way through. -

To add the leaves onto the string, poke two holes into one side, as shown. Then, put the needle through each of the holes. This will help the leaf sit flat on the garland. -

Continue adding flowers and leaves onto the string. -

Once all flowers have been added, cut contrasting tissue paper centers (these will look like circles, about 2 inches across). Pinch the center of each circle and crumple the excess up as shown. Add a dot of Mod Podge into the center of each flower and attach the new tissue paper center onto each dot. Let dry completely, then hang as desired.

Happy crafting!