Is there anything better than a day spent blowing bubbles?
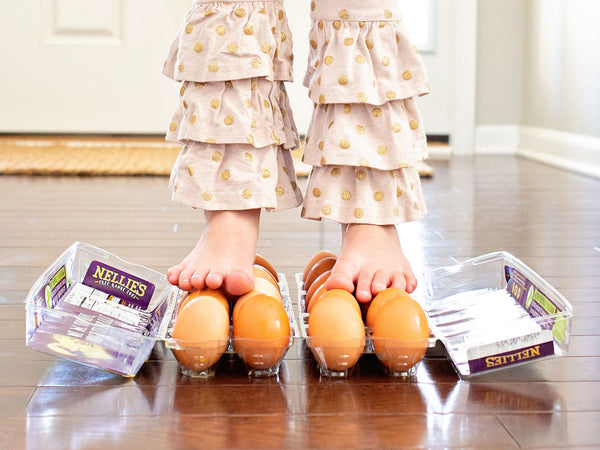
Well, how about these rainbow-colored bubbles scented with essential oils? Have fun experimenting with colors, smells, and bubble recipes with your kids this summer by making this playful bubble station right in your empty Nellie's Free Range Egg cartons, which make perfect trays for mixing and matching bubble solutions.

Not only will your kids love blowing these bubbles, but they'll also learn about color mixing and different scents, too. Pouring your bubble solution into the egg carton tray allows for easy access without the concern of spilling full bottles. You can even use some tape to secure the tray to the table if you're worried about little ones grabbing the whole tray. When you're all done, use any glass or plastic recyclable jars you have on hand for storing the extra bubble solution. Simply rinse and recycle your empty egg cartons—did you know that they're made from 100% post-consumer recycled plastic?
To make your own rainbow bubbles, follow the instructions below.

Supplies
- Empty Nellie's Free Range Egg cartons
- Unscented dish soap
- Glycerin
- Essential oils
- Food coloring
- Bottles or jars (with lids)
- Scissors
- Wire and/or pipe cleaners
- Wire cutters
How to make the bubbles
-

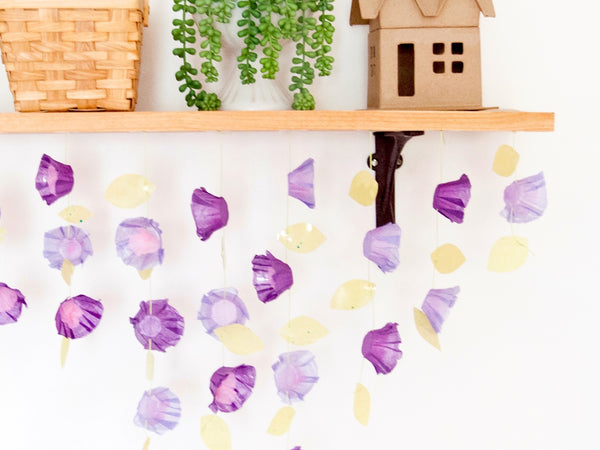
Open up the empty egg carton and cut along each hinge so that you have three pieces. The two egg-compartment pieces will be used for holding bubbles, while the flat lid piece can be recycled, set aside for another craft (such as this festive floral garland), or used as a tray for the bubble blowers.
-

Time to make some bubbles! In a pitcher, mix together 6 cups of water, 1 cup of unscented dish soap, and 1 tablespoon of glycerin. It's important to use unscented dish soap so that the scent doesn't compete with the essential oils later. Use a large spoon or whisk to stir the solution until well combined. -

You've made your bubble base! Pour the solution into 8 jars or bottles, one for each color of the rainbow. -

Add a drop of food coloring into each jar so that you have red, orange, yellow, green, blue, and purple bubble solutions. If you have more jars, you can mix up extra colors too, like pink or indigo. Parents, this is a great chance to help younger kids learn about color mixing! Once the colors are mixed, add a drop or two of essential oil to each color and stir to combine. These are the color and scent combinations we used, but feel free to mix and match using the oils you have on hand:
- Red + cinnamon
- Orange + sweet orange
- Yellow + lemon
- Green + peppermint
- Blue + vanilla
- Purple + lilac
- Pink + grapefruit -

To make the bubble wands, we used armature wire (you can find this in the clay aisle at the craft store) because of how nicely it bends. Have fun forming them into loopy shapes (we were inspired by vintage rug beaters!), making sure that they either fit into the openings on your jars or are the size of one egg compartment. Use tape to secure the handles if necessary, or simply twist the wire together. Pipe cleaners work in a similar way and are a great option for younger kids. Once shaped, your bubble blowers are ready to use, but you can choose to give them a quick coat of spray paint if desired. -

To set up your rainbow bubble station, pour the colored bubbles into the egg compartments. Encourage the kids to smell each of the solutions and ask which scent and color combinations they like best. Dip your DIY bubble wands into each solution, gently blow, and watch the bubbles take shape!


